
Last updated October 17, 2026
 Architectural shingles
 Metal roofing
 Tile roofing
 GAF
GAF Owens Corning
 Flat & low-slope
Free roof inspection with deck photos before we talk money - GAF and Owens Corning certified installation
Roof Repair Maintenance Checklist for Orlando Homeowners
Every August, our phone rings with the same story from homeowners across Orlando: a small stain appeared on the ceiling in March, nobody thought much of it, and now there’s a $4,800 decking replacement behind it. Florida weather doesn’t create roof problems overnight. It exploits small failures for months until they become expensive ones. The most costly repair call we get each year at Crestview Roofing Co Orlando isn’t from hurricane damage. It’s from a slow flashing leak that a 20-minute April inspection would have caught for under $300, but ran undetected through Orlando’s summer rains and rotted out the decking by October. This guide is a structured maintenance checklist built around Orlando’s two distinct weather seasons, not a generic spring/fall template that ignores how Central Florida actually behaves.
Quick Answer
A roof repair maintenance checklist for Orlando homeowners should follow a two-season rhythm: a pre-rainy-season inspection in April to catch flashing failures, lifted shingles, and clogged valleys before daily thunderstorms arrive, and a post-storm-season inspection in November to document wind damage, granule loss, and fascia issues before cooler weather sets in. Most standard Roof Repair in Orlando run between $300 and $900, while a full roof replacement typically lands between $8,000 and $16,000 depending on square footage and material. A written maintenance log with dated photos is your strongest defense against an insurance claim denial based on alleged neglect.
Styles & brands we work with
Table of Contents
- Why Orlando Needs a Two-Season Maintenance Framework
- The April Pre-Rainy-Season Checklist
- The November Post-Storm-Season Checklist
- The Five Flashing Locations That Fail First on Orlando Homes
- How to Inspect Your Roof Safely From the Ground
- What’s DIY vs. What Requires a Licensed Orlando Roofer
- The Written Maintenance Log Your Insurance Carrier Can’t Ignore
- Common Mistakes to Avoid
- When to Call a Professional
- Frequently Asked Questions
Why Orlando Needs a Two-Season Maintenance Framework
Orlando’s climate doesn’t follow the four-season pattern that dominates most national roofing advice. We have two real seasons: a rainy season that runs from roughly May through October, and a drier season from November through April. The rainy season brings daily afternoon thunderstorms, high humidity, and the occasional tropical system. The dry season brings cooler nights, lower humidity, and the strongest wind events of the year, including the tail ends of cold fronts that can gust to 40 mph or more.
This matters because roof failures in Orlando are seasonal by nature. During the rainy season, water intrusion is the primary threat. Flashing seals expand and contract with heat, pipe boots crack under UV exposure, and valleys clog with oak leaves and pine needles from Orlando’s dense tree canopy. A small gap that would be harmless in Arizona becomes a leak within weeks here because the water volume is relentless.
During the dry season, the threat shifts to wind and temperature cycling. Shingles that were loosened by summer heat get lifted by November cold fronts. Granule loss accelerates as the roof surface cools and contracts overnight. Fascia and drip edges that absorbed months of humidity start to show rust or rot.
A generic monthly checklist won’t catch these patterns because it doesn’t sequence the right tasks in the right order. Checking for lifted shingles in August is useful, but checking for them in November after the first cold front tells you whether the roof survived the transition. Think of the two-season framework as a rhythm: April prepares the roof for water, November prepares it for wind. Each inspection takes about 30 to 45 minutes, and each one targets a different failure mode. This is the framework we’ve used on thousands of Orlando roofs, and it’s also the structure behind our Roof Repair in Orlando service recommendations.
The April Pre-Rainy-Season Checklist
April is the single most important month for Orlando roof maintenance. The ground is still relatively dry, temps are manageable, and you have a narrow window before the daily thunderstorm cycle begins in earnest. This checklist is designed to catch every water-intrusion point before it gets tested daily by rain.
- Clean valleys and gutters of all organic debris. Orlando’s live oaks drop leaves year-round, but the heaviest accumulation happens between February and April. Clogged valleys back water up under shingles, which is the fastest way to rot decking in Florida. A clogged gutter overflows onto the fascia, and water wicks back into the soffit. This is a genuine DIY task if you have a stable ladder and someone holding it. If the roof is two stories or the pitch is steep, call us instead.
- Check all five flashing locations. We’ll cover these in detail below, but in April the priority is pipe boots and chimney aprons. These expand and contract more than any other roof component because metal and rubber move at different rates in Florida heat. Look for cracked rubber, separated caulk, or rusted metal.
- Inspect shingle tabs for lifting or curling. Walk the perimeter of the house with binoculars or a camera lens and focus on the south and west slopes. These get the most UV exposure in Orlando. A curled tab is a wind catch waiting for the first strong storm. Flat tabs with intact granule coverage are what you want to see.
- Check attic humidity and ventilation. Orlando’s spring humidity often sits above 70 percent. If your attic doesn’t have adequate ventilation, that moisture condenses on the underside of the decking and promotes wood rot from the inside. Look for dark stains on the decking, rust on nail points, or a musty smell. If you see any of these, you have a ventilation problem, and it will shorten the life of the roof regardless of how good the shingles are.
- Document the condition of the roof. Take dated photos of every slope, every flashing point, and the attic. These go into your maintenance log. If a storm later causes damage, this is your proof the roof was in good condition before the storm.
One note on timing: April inspections are best done early in the morning before the sun heats the roof surface. You’re not walking the roof, but the light angle matters for spotting lifted tabs and granule wash. Low-angle morning light casts shadows that make irregularities obvious. Midday overhead light flattens everything out and hides the exact issues you’re looking for.
The November Post-Storm-Season Checklist
November is the second critical month on the Orlando roofing calendar. The rainy season is over, the first strong cold fronts have moved through, and you now have six months of accumulated weather stress to document and address. This checklist focuses on wind damage, structural shifting, and preparing the roof for the cooler dry season.
- Re-inspect every shingle slope for lifted or missing tabs. Orlando’s November cold fronts routinely produce gusts above 35 mph, and any tab that wasn’t fully sealed gets lifted. Once a tab lifts, the next wind event peels it farther back until the shingle is compromised. Look for tabs that appear slightly raised, especially near the edges and ridge lines.
- Check drip edges and fascia for rust, rot, or separation. Six months of daily rain exposes any weak point in the drip edge, which is the metal strip that runs along the roof’s perimeter to direct water into the gutter. If the drip edge rusts through or separates from the decking, water runs behind the gutter and down the fascia. In Orlando, fascia rot is usually a sign of a failing drip edge, not a gutter problem.
- Inspect the attic for any water staining that appeared during the rainy season. This is the single most important November task. Water stains in the attic are evidence of a leak that already happened. You may not see interior ceiling stains yet because the water is still trapped in the insulation. Look for dark rings on the decking, discolored insulation, or any musty odor. Mark the location with tape and take a photo before covering it up.
- Check granule accumulation in gutters. If you cleaned the gutters in April and they’re heavy with asphalt granules by November, your shingles are shedding at an accelerated rate. Some granule loss is normal as a roof ages, but excessive loss is a sign the shingles are reaching end of life. Hold a handful of gutter debris and look at the ratio of granules to leaves. If granules dominate, it’s time for a professional assessment.
- Document all storm-season findings. Add November photos to your maintenance log and note any repairs done during the year. If a wind claim arises later, a complete November log entry is strong evidence you maintained the roof properly.
This November checklist matters more than most Orlando homeowners realize because it’s the last clean inspection window before winter. Once January’s colder nights arrive, any roof work becomes more complex: sealants cure slower, shingles are stiffer, and scheduling tightens. November is the right time to address anything you found or to book a professional roof assessment for Crestview Roofing Co Orlando home service coverage before the year ends.
The Five Flashing Locations That Fail First on Orlando Homes
Flashing is the metal or rubber material used to seal the joints and transitions on a roof. In plain terms, it’s what keeps water from getting in where the roof meets a wall, a pipe, a chimney, or a skylight. On Central Florida homes, flashing fails before shingles do, and it fails in predictable locations. Here are the five we replace most often in Orlando, in order of frequency.
1. Pipe Boots
Pipe boots are the rubber or synthetic collars that seal around plumbing vent pipes. In Orlando’s heat and UV, rubber boots crack and split within 8 to 12 years, often long before the shingles around them show wear. The failure is easy to see from the ground with binoculars: look for a collar that appears cracked, misshapen, or separated from the pipe. A failed pipe boot lets water run directly down the outside of the pipe and into the attic. The repair is straightforward and typically runs $200 to $400, but left unattended, the water damage it causes can exceed $3,000.
2. Chimney Aprons
Chimney aprons are the L-shaped metal pieces that seal the joint where the chimney meets the roof. In Orlando, chimneys are less common on newer homes, but the older neighborhoods like College Park, Delaney Park, and Winter Park have thousands of them. The apron fails when the sealant between the metal and masonry cracks from repeated heating and cooling. Look for gaps in the caulk line or visible rust on the metal. Water that bypasses the apron runs down the outside of the chimney chase and into the attic, where it’s often mistaken for a shingle leak.
3. Valley Metal
Valley metal runs the length of the V-shaped intersection where two roof slopes meet. On Orlando homes with oak canopies, valleys are the highest-risk flashing point because leaves and debris accumulate in them and hold moisture against the metal. The failure mode is rust-through, which creates pinhole leaks. From the ground, look for rust streaks on the metal or shingle tabs that appear lifted along the valley line. If you can see exposed fasteners, the valley was installed improperly and will fail sooner.
4. Skylight Flashing
Skylights are a significant leak risk on Orlando homes because they combine two failure modes: the sealant fails and the thermal expansion of the glass assembly stresses the surrounding metal. Most skylight leaks start as condensation that looks like a leak, so before assuming the flashing has failed, check the attic humidity level. A true flashing leak around a skylight will show as water staining that runs from the top or sides of the opening, not the middle.
5. Drip Edge
Drip edge is the metal strip at the roof’s edge that directs water away from the fascia and into the gutter. It’s the most neglected flashing component on Orlando homes because it’s partially hidden behind the gutter. Failure shows up as water running down the fascia board, peeling paint at the roofline, or rust streaks visible just above the gutter. If your fascia is rotting anywhere, the drip edge is the first place to check. The repair usually involves replacing the affected section and the damaged fascia board, and it’s not a DIY job under any circumstances.
If any of these five flashing points show signs of failure, the repair is typically less than the deductible on a homeowner’s insurance policy. That’s the orange flag we keep waving: flashing issues are cheap to fix early and expensive to fix late. A $300 pipe boot replacement in April beats a $5,000 decking replacement in August.
How to Inspect Your Roof Safely From the Ground
Walking an Orlando roof without proper training is dangerous and, in many cases, will void the manufacturer’s warranty. Most shingle manufacturers, including GAF and CertainTeed, expressly state that foot traffic can damage the shingle surface and that warranty coverage does not extend to damage caused by walking the roof. Beyond the warranty concern, Orlando’s afternoon thunderstorms make roof surfaces slick, and the pitch on many Central Florida homes is steep enough that a fall is a real risk. You don’t need to walk the roof to inspect it. You need the right tools and the right approach.
What you need: a pair of binoculars or a camera with a zoom lens, a notepad or phone for documentation, and a helper to steady the ladder if you climb to gutter level. That last part is important: you should not climb a ladder without someone holding it.
The Ground Inspection Sequence
- Start at the curb and photograph the roof as a whole. Stand back far enough to see the entire slope and take photos from all four sides. This gives you a baseline for later comparison and documents overall roof condition at a given moment.
- Walk the perimeter with binoculars, scanning each slope in a grid pattern. Left to right, top to bottom. Look for: lifted tabs (they cast a shadow in morning light), missing granules (bald spots will appear as lighter patches), moss or algae growth (dark streaks on the shingle surface), and exposed nails (silver dots that catch the light).
- Focus on the flashing points outlined above. Each one has a specific visual signature. Compare what you see against the description in the previous section. If anything looks wrong, mark it in your notes.
- Climb to gutter level only if safe. With your helper holding the ladder, inspect the drip edge, gutter brackets, and fascia. Use your phone camera to shoot up under the gutter line. This angle reveals drip edge failures that are invisible from the ground.
- Go inside and check the attic. This isn’t technically a ground inspection, but it completes the picture. Use a flashlight and look for any daylight penetration around pipes, chimneys, or ridge vents. Daylight means water can get in.
The entire ground inspection takes 20 to 30 minutes once you know what to look for. We’ve had Orlando homeowners send us photos from this exact process that allowed us to diagnose issues over the phone before sending a technician out. It’s the same approach we take on our own Roof Installation in Orlando assessments: see it from the ground first, document everything, then decide what needs trained eyes.
What’s DIY vs. What Requires a Licensed Orlando Roofer
Florida law draws a clear line between maintenance tasks a homeowner can perform and work that requires a licensed roofing contractor. Crossing that line can void your insurance coverage and create liability for any subsequent damage. Here’s the breakdown as it applies to Orlando homeowners.
Genuine DIY Tasks
- Gutter and valley cleaning. Removing leaves and debris is maintenance, not roofing work. Use a stable ladder, gloves, and a bucket. Never climb onto the roof to reach a valley. A gutter scoop and hose from the ladder is enough for most single-story Orlando homes.
- Attic inspection and humidity monitoring. Checking for stains, daylight penetration, and musty odors is well within homeowner scope. A $20 hygrometer from any hardware store gives you objective humidity readings. Orlando attics should stay below 60 percent relative humidity in the dry season. Anything higher signals a ventilation problem.
- Ground-level visual inspection. The binocular walk-around described above is a homeowner task. You’re looking, not touching.
- Documentation. Photos, notes, and maintenance logs are entirely within your control and are among the most valuable things you can do.
Tasks That Require a Licensed Roofer
- Any shingle replacement or repair. Florida Statute 489.113 requires a roofing license for any work involving the roof covering. Even replacing a single torn shingle technically falls under this. In practice, small repairs done by homeowners happen, but if the repair fails and causes a leak, your insurance carrier may deny the claim on the grounds of unlicensed work.
- Flashing replacement of any kind. Pipe boots, valley metal, chimney aprons, skylight flashing, and drip edge all require proper fastening and sealant application. Done wrong, they leak worse than before. Done right, they last 10 to 20 years.
- Any work involving the roof decking. If you can see decking from inside the attic, the roof covering has failed. This is a structural issue and requires a licensed contractor to assess the extent of the damage.
- Any repair done under a warranty. If your roof is under a manufacturer’s warranty, DIY repairs can void the entire coverage. This is especially important with GAF, Atlas, and Tamko systems, which have specific installation and repair requirements.
- Any work you can’t document properly. Insurance carriers increasingly require proof that repairs were done correctly. A licensed contractor provides an invoice, a work order, and often before-and-after photos. If you can’t produce these, you’re vulnerable to a claim denial.
When in doubt, call. A written estimate costs nothing and clarifies which side of the line your situation falls on. For a full picture of when replacement makes more sense than repair, see our guide on Roof Replacement in Orlando.
The Written Maintenance Log Your Insurance Carrier Can’t Ignore
Orlando homeowners file more wind and water damage claims than almost any other market in the state. In that environment, insurance carriers look for reasons to deny coverage, and the most common one is negligence: the claim that the homeowner failed to maintain the roof, and the damage is therefore the result of deferred upkeep rather than a covered event. A written maintenance log is your counter-evidence. It’s the difference between a claim that gets processed and a claim that gets fought.
What a Maintenance Log Should Document
- The date of every inspection. April and November are the minimum. Add a note if you inspect after a significant storm or if a repair is done.
- Dated photos of every slope, flashing point, and the attic. Store them in a folder with the date in the filename. These are your baseline evidence.
- Any issue found, even minor ones. If you note a small granule loss area in April and a larger one in November, you’ve documented progression. That’s evidence of maintenance diligence, not neglect.
- The name and license number of any contractor who performs work. A professional invoice attached to your log is the strongest possible evidence that the roof was properly maintained.
- Receipts for any materials or repairs. Even DIY gutter cleaning supplies show a pattern of regular upkeep.
The log doesn’t need to be elaborate. A simple notebook with dated entries and a phone photo folder organized by date is enough. What matters is that the record exists and is consistent. When an adjuster asks whether you maintained the roof, you want to be the homeowner who says “here’s my log” rather than the homeowner who says “I think we had someone look at it a while back.” We’ve seen this play out in Orlando neighborhoods from Baldwin Park to Dr. Phillips, and the homeowners with logs win claims faster and more fully.
Common Mistakes to Avoid
- Waiting until after a storm to do your first inspection. The whole point of the April checklist is to catch problems before the rainy season. If you wait until you see water coming through the ceiling, the damage is already done and the cost has multiplied. Orlando homeowners who inspect in April spend dramatically less on repairs than those who wait for leaks.
- Walking the roof to inspect it. Every shingle manufacturer’s warranty warns against foot traffic, and Orlando’s roof pitch plus afternoon rain makes walking the roof genuinely dangerous. Use binoculars from the ground. If you need a closer look, call us, not a ladder.
- Ignoring the attic because “the roof looks fine.” A roof can look flawless from the ground while the decking underneath is quietly rotting from trapped humidity. The attic is where Orlando’s moisture problems show up first. If you only inspect what’s visible from the curb, you’re missing the most important diagnostic surface on the house.
- Assuming granules in the gutter are normal. Some granule loss is expected as a roof ages, but a heavy accumulation in a gutter you cleaned six months ago is a warning sign. Granules are the shingle’s UV protection. When they go, the shingle’s lifespan drops quickly.
- Sealing around a pipe boot with caulk instead of replacing it. Caulk fails in Orlando’s heat within a season. The only lasting fix for a cracked pipe boot is replacement. A $300 boot replacement is cheaper than a $2,000 ceiling repair, but only if you choose the right repair the first time.
- Not documenting maintenance. If you don’t write it down and photograph it, it didn’t happen as far as your insurance carrier is concerned. A five-minute log entry twice a year is the cheapest insurance you’ll ever buy.
- Hiring a roofer who won’t put the price in writing. The most common complaint we hear from Orlando homeowners is that a quote changed once the work started. Before you hire anyone, demand a written price. If they won’t provide one, walk away. At Crestview Roofing Co Orlando, a written price is delivered before any work starts, on every job, no exceptions.
When to Call a Professional
Some situations are beyond the capability of any homeowner, and trying to handle them yourself creates more problems than it solves. For more guides & resources, visit our blog. Call a licensed Orlando roofer when you see: daylight coming through the attic decking, water stains that have expanded between inspections, any of the five flashing failure signs described above, granules accumulating heavily in gutters, or shingles that have lifted along a ridge or valley line. If a storm has passed through and you suspect wind damage, a professional assessment is the only way to document the damage properly for an insurance claim. Crestview Roofing Co Orlando offers free estimates throughout the Orlando area, and every recommendation is backed by a written price before any work begins. Call (448) 218-0800 to schedule yours.
Frequently Asked Questions
Most standard roof repairs in Orlando run between $300 and $900. A pipe boot replacement is typically $200 to $400. Flashing repair around a chimney or skylight runs $400 to $800. Valley metal replacement is $600 to $1,200 depending on length. Major decking repair starts at $2,500 and goes up from there. The wide range reflects the difference between catching a problem early and addressing it after water damage has spread. Call (448) 218-0800 for an exact quote on your specific roof, and you’ll get a written line-item price before any work begins.
Twice a year at minimum, in April before the rainy season and in November after the storm season. This two-season rhythm matches Orlando’s actual weather patterns and catches the specific failures each season produces. If a strong storm passes through between those inspections, add a third check.
Failed flashing around pipe boots and chimneys, by a wide margin. The rubber and sealant used in these locations breaks down faster in Orlando’s heat and UV than anywhere else on the roof, and the failures are small enough to go unnoticed until they’ve caused significant water damage.
Insurance typically covers sudden damage from a covered event, like a windstorm or hail, but not maintenance-related failures. This is exactly why a written maintenance log matters: it’s your proof that you maintained the roof and that any damage was sudden, not gradual. If you’re unsure whether your situation is covered, document everything and call your carrier before starting work.
Florida law requires a roofing license for any work involving the roof covering, including shingle replacement and flashing repair. See Roofing Permits, Codes & Inspections in FL: What You Need to Know for details. Small maintenance tasks like gutter cleaning and attic inspection are fine for homeowners, but anything that touches the roof surface or the flashing should be handled by a licensed contractor. Doing it yourself risks voiding your warranty and your insurance coverage.
If the damage is limited to one or two specific areas, flashing, or a small number of shingles, a repair is usually the right call. If the shingles are losing granules across multiple slopes, the roof is over 15 years old, or the decking is compromised in several places, replacement makes more financial sense. A professional inspection is the only way to make that determination accurately. Our guide on Roof Replacement in Orlando walks through the decision in detail, and a free estimate from Crestview will give you a straight answer either way.
The Bottom Line
Orlando roofs fail slowly, then suddenly. The daily thunderstorms, high humidity, and strong cold fronts that define Central Florida weather expose every weak point on a roof, and the repair cost difference between catching a problem in April versus discovering it in August is often tenfold. Run the two-season checklist, document everything, know which tasks are yours and which belong to a licensed roofer, and never ignore a small flashing issue. The homeowners who stay ahead of this schedule spend less on repairs, win more insurance claims, and replace their roofs on their own timeline instead of in a panic. If you haven’t done your April inspection yet this year, start it this weekend. And if anything you see doesn’t look right, call (448) 218-0800. We’ll come out, document what we find, and give you a written price that won’t change. That’s how roofing should work in Orlando.
Written by Dylan Pace, Owner at Crestview Roofing Co Orlando, serving Orlando since 2000.
See the difference
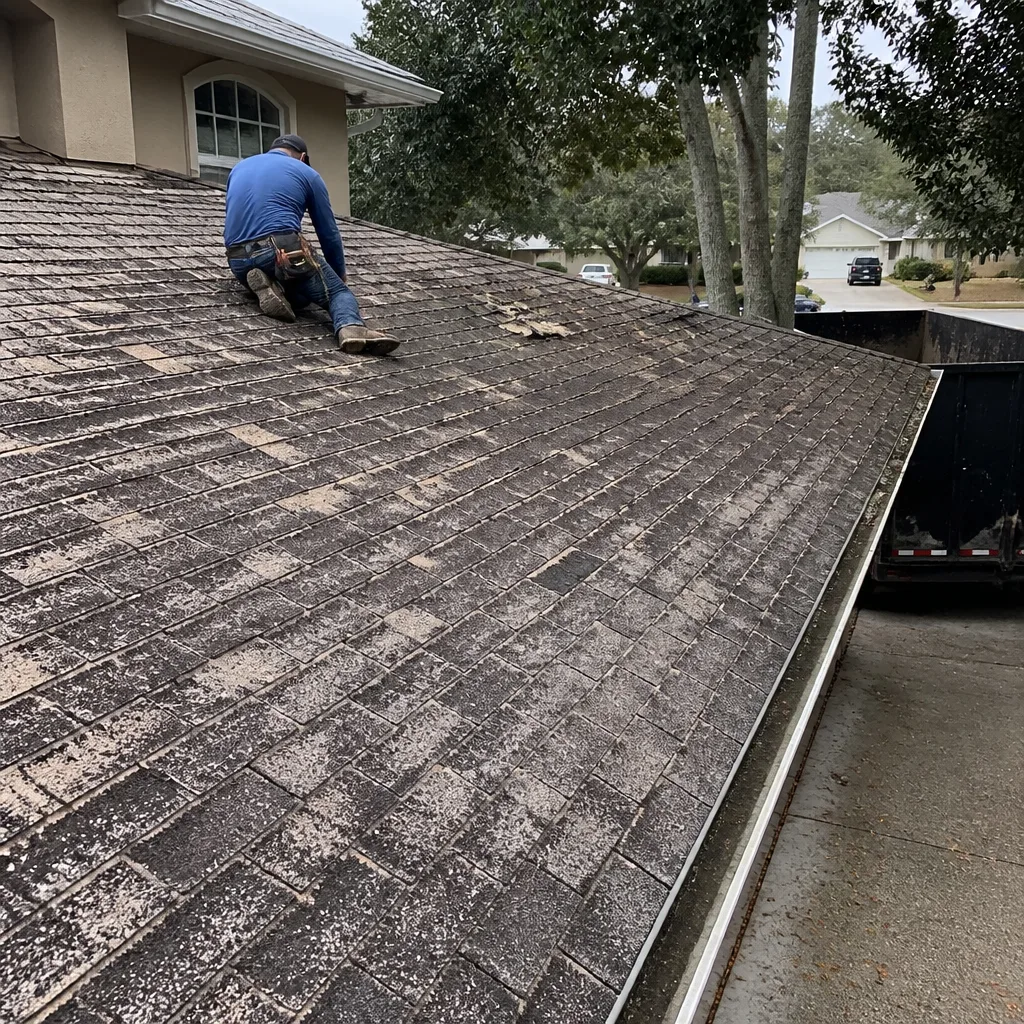 Before
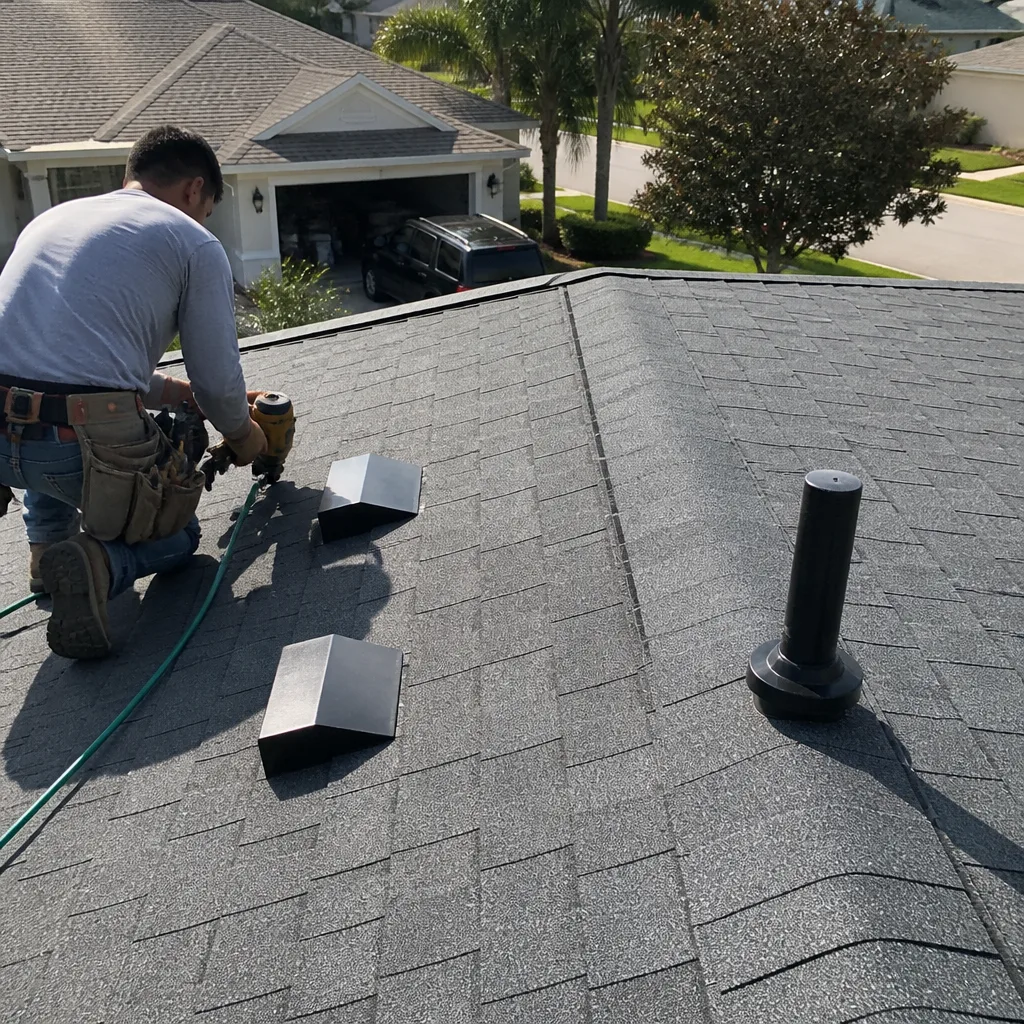 After
After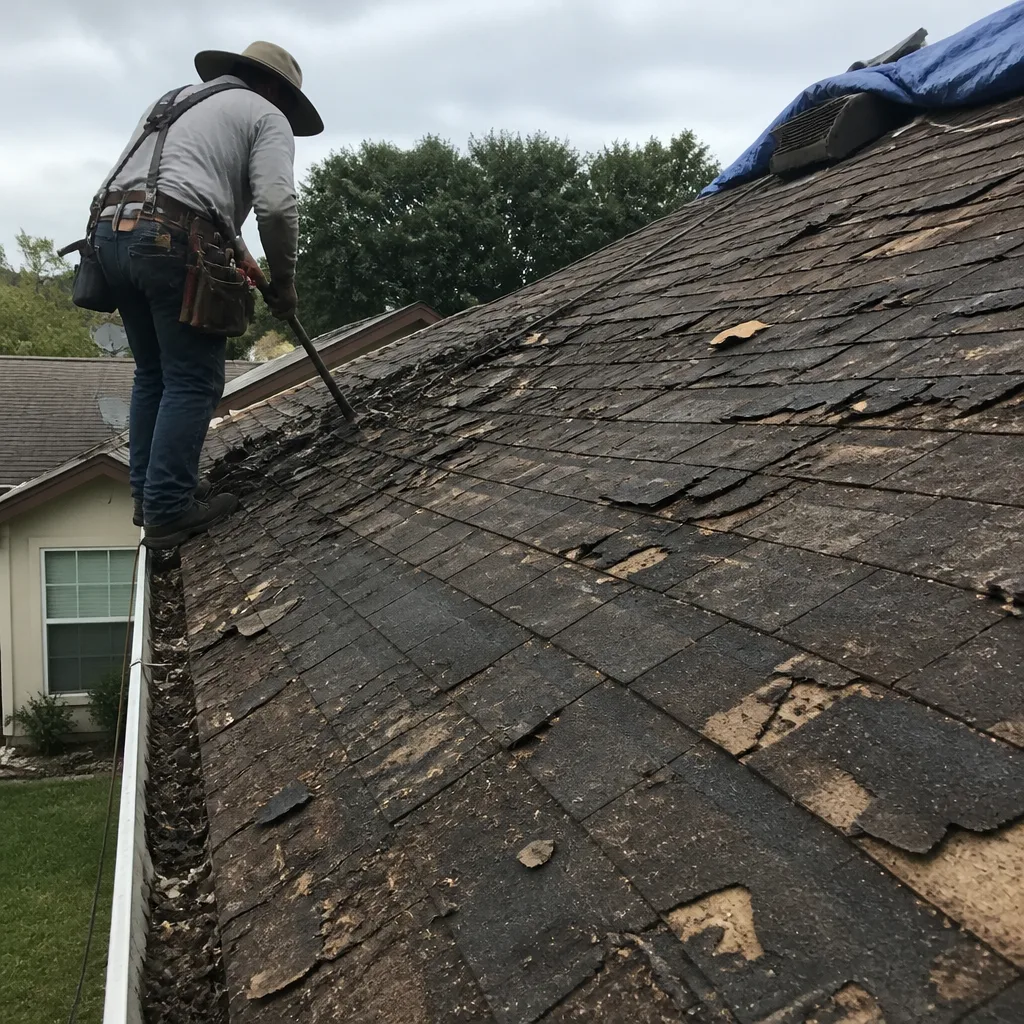 Before
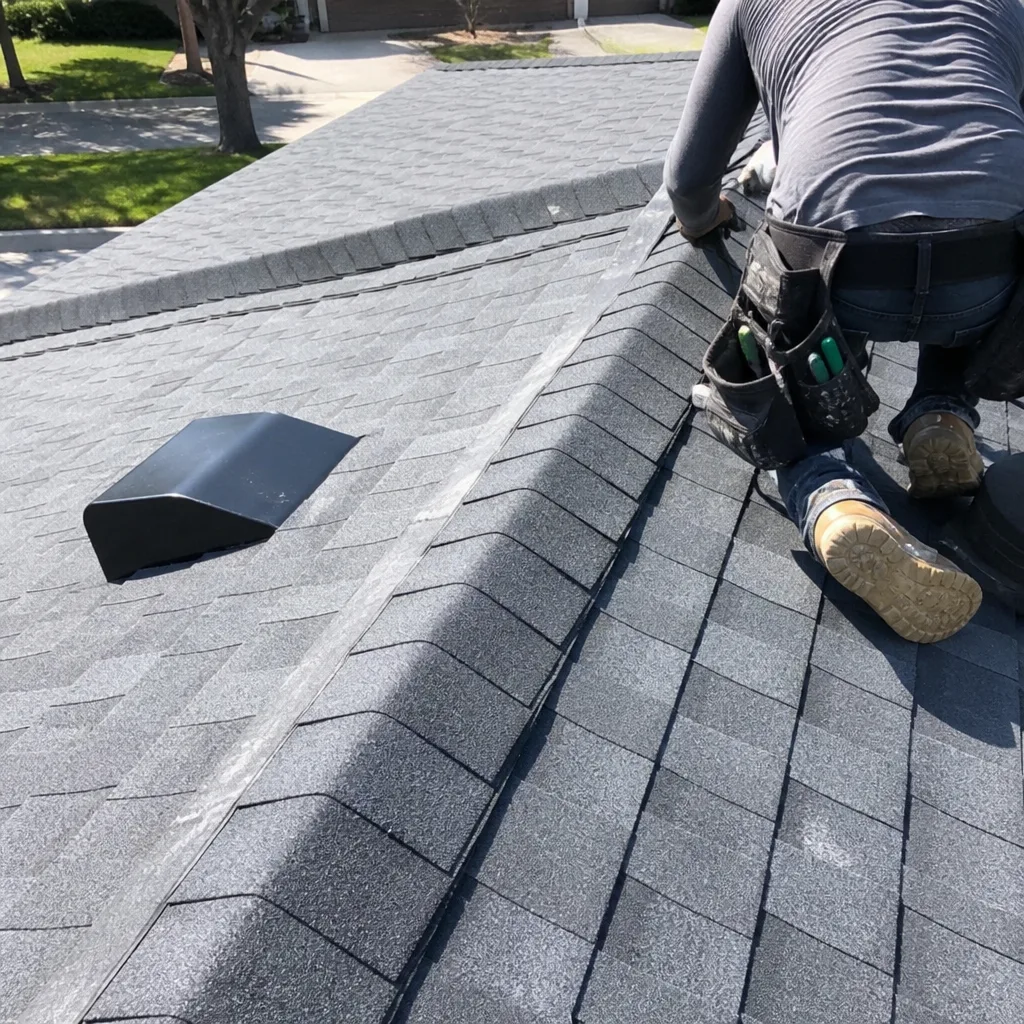 After
After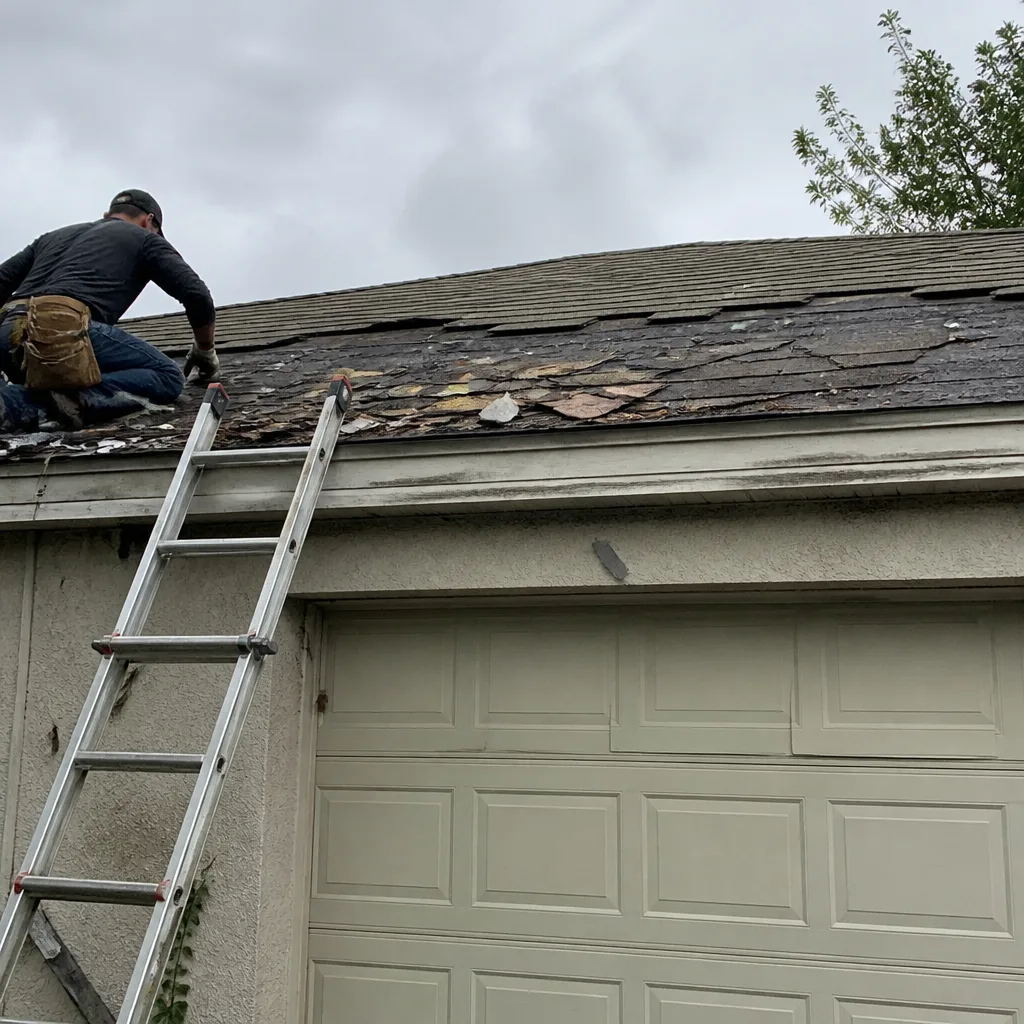 Before
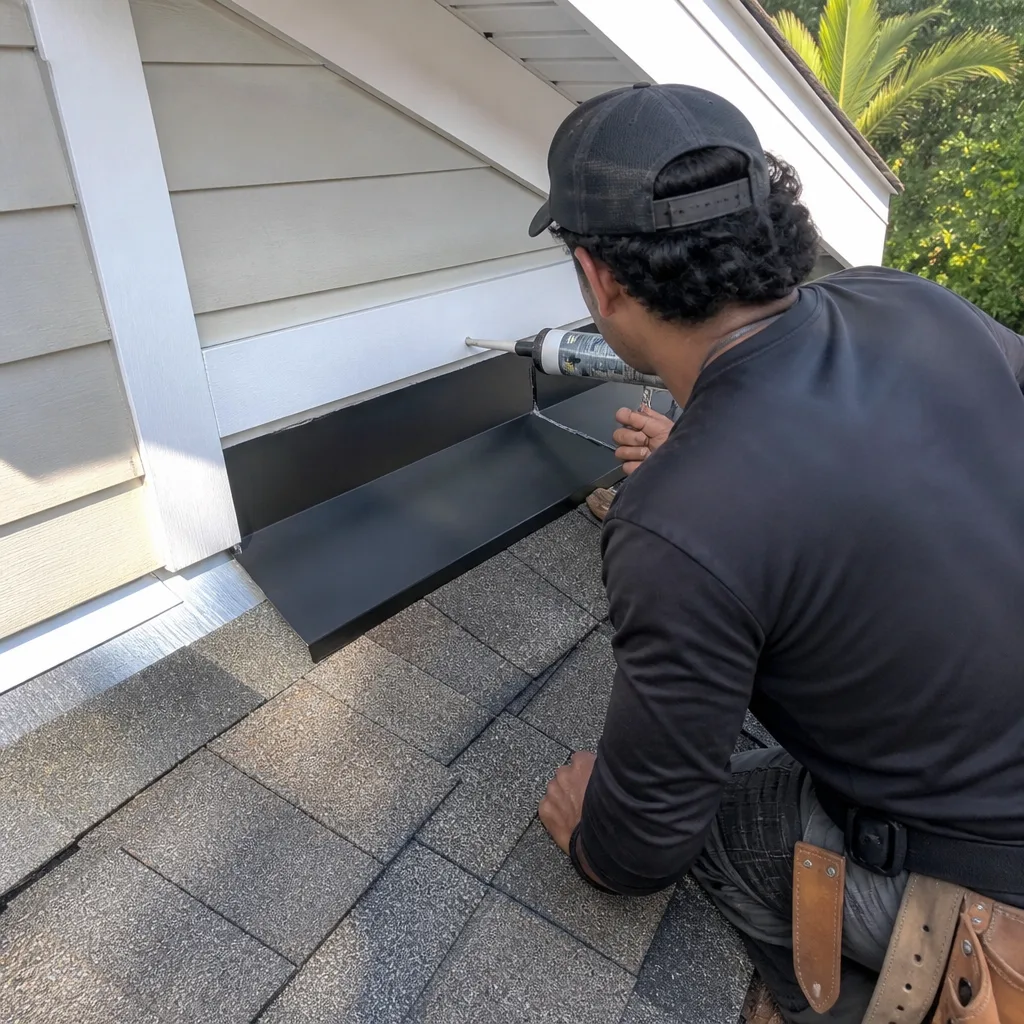 After
After